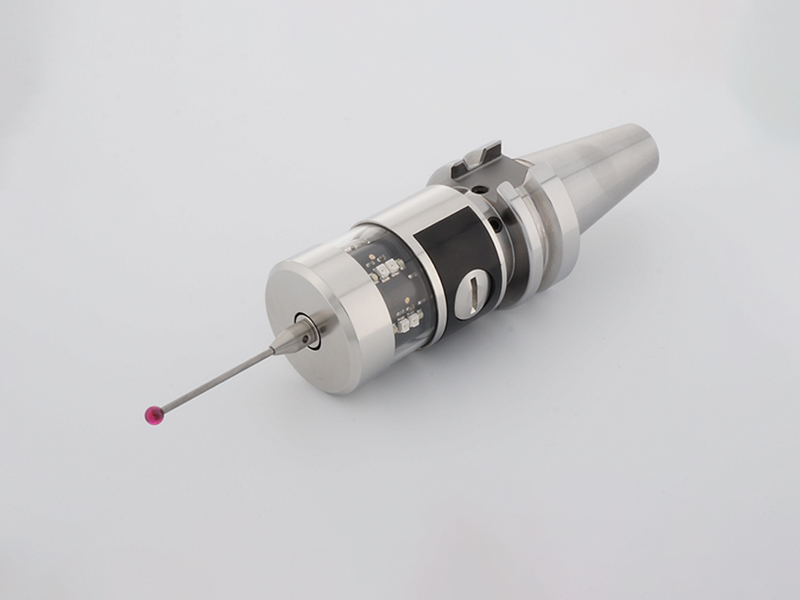
Touch Probe Stylus
Custom Precision Styli For Metrology From China Manufacturer - SILVERCNC
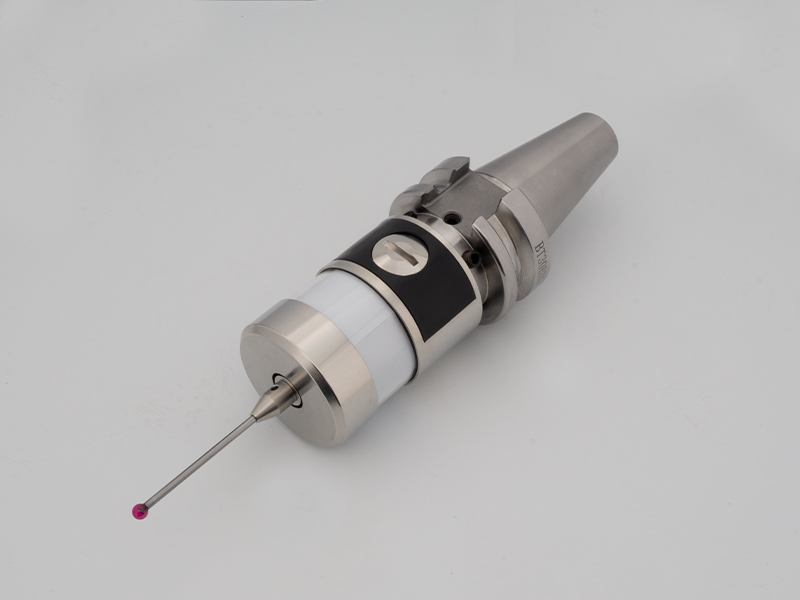
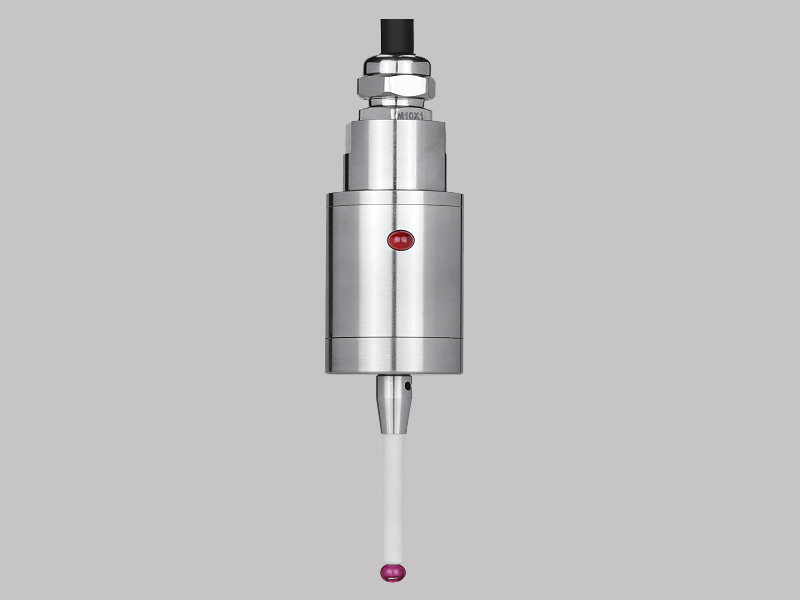
SILVERCNC offers a wide range of precision styli for touch probes, available in various specifications. Expect stable quality at competitive prices – your best choice for reliable performance!
Brand: SILVERCNC
Port: Shenzhen China
Logo printing: SILVERCNC/None/Customized
Type : Straight, Cylinder, Extensions
Model : Standard or customized
Packaging details: Carton
Shipping: DHL/TNT/UPS, 3-7 days
Precision Stylis Design Specifications
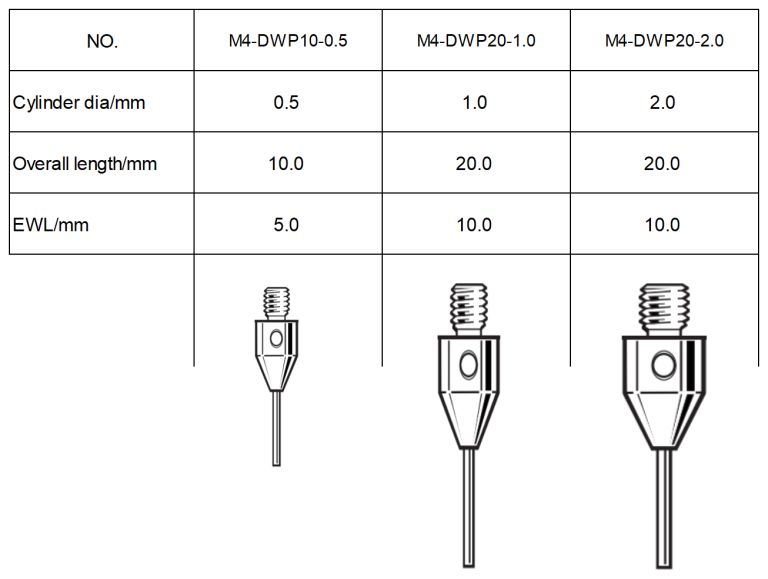
Flat bottom cylinder stylus wi th tungsten carbide
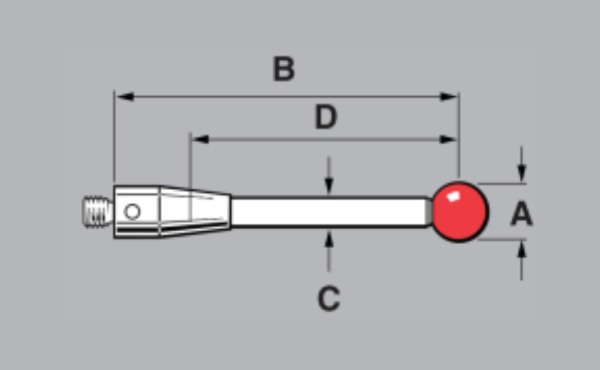
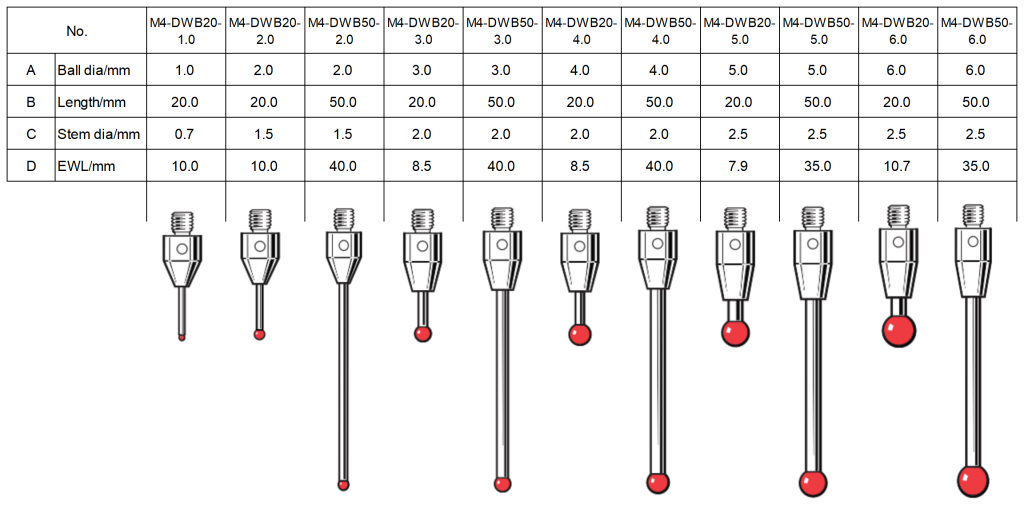
Ruby ball styli with tungsten carbide stems
Ruby ball styli with ceramic stems
-3-1024x551.png)
Ruby ball styli with carbon fiber
-831x1024.png)
Stylus extensions ceramic
-768x854.png)
Why Choose SILVERCNC for Precision Styli Design and Manufacturing Service?
Expertise in Precision Engineering
We have years of experience in designing and manufacturing precision styli. This expertise ensures that we offer you reliable, high-performance tools
Advanced Technology
We can produce custom styli with exceptional precision. We ensure consistent results, even for complex designs, providing products that meet stringent quality control standards.
Customization Options
SILVERCNC offers a wide range of customization options for your precision styli needs. This flexibility allows clients to get the exact tool they need for their specific applications, improving efficiency and performance.
Fast Delivery and Competitive Pricing
We offer fast delivery of custom precision styli service. Our competitive pricing ensures you stay on schedule and within budget. You can rely on us for consistent, top-quality products.
How a touch probe stylus works?
A stylus is the part of the touch probe which makes contact with the parts, causing the probe’s mechanism to displace and leading to trigger signal . The generated signal enables a measurement to be taken.Each touch generates a point that is defined using coordinate values in X, Y and Z. Feature, size, form and position can then be computed from these points.
The importance of Precision Styli
The design and quality of stylus have a decisive influence on measurements in tactile metrology. If the roundness of the styli ball is poor, the position incorrect, the deformation of the ball and the thread tolerance is large, these will lead to the measuring rod large deformation. Any error may become an influencing factor of measurement uncertainty and may reduce the measurement accuracy by up to 10%
Precision styli for metrology applications
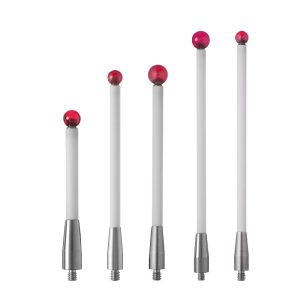
Straight styli
Straight styli are the simplest and most frequently used type. Straight shouldered stems and tapered stems are available. Styli with tapered stems offer better rigidity when the work piece is easily accessible.
Stylus balls are made from ruby, silicon nitride, zirconia, ceramic or tungsten carbide.
The holders and stems come in a range of materials – titanium, tungsten carbide, stainless steel, ceramic and carbon fibre.
Cylinder styli
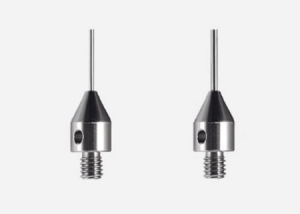
For measuring sheet metal, pressed components and thin work pieces with which proper contact cannot be guaranteed with ball styli. In addition, various threaded features can be probed and the centres of tapped holes located. Ball-ended cylinder styli allow full datuming and probing in X,Y and Z directions, thus allowing surface inspection to be performed.
Extensions
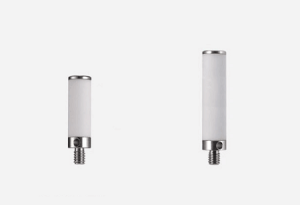
Extensions are used for measuring very deep features and bores, or probing points that are difficult to access.
What Material is Used for CMM Probe Tips?
- Tungsten carbide: Provides exceptional rigidity, particularly with small stem diameters and shouldered probes.With large stem diameters and long styli you need to be careful about the weight. Ideally suited for most standard applications.
- Ceramic: Due to its lightness, ceramic is mainly used for long styli. It is thermally stable, for production-related pplications. It can also be used as a break protection in machine tool applications.
- Steel: For styli with superior rigidity for standard applications where weight is not an issue.
- Carbon fibre (Thermally Stable): Also ideally suited for long styli as carbon fibre styli only weigh around 20% of tungsten carbide styli. Its thermal stability delivers huge benefits, particularly with very long styli and this makes it suitable for use in a production environment.
What is the Best Advice When Selecting a CMM Stylus?
When selecting machine tool probe stylus, it’s crucial to consider the machining materials, measurement accuracy, and the machine’s vibration characteristics. Here are the key points to help guide your choice:
1. Choose Probe Styli Based on Machining Materials
For hard workpieces, opt for stainless steel or tungsten carbide styli, which offer better rigidity and minimize bending during measurement.
For materials like aluminum or cast iron, avoid ruby probes. Ruby styli can cause adhesion and wear, leading to inaccurate measurements.
2. Select Styli According to Measurement Accuracy Requirements
Shorter styli and larger diameter probe balls generally provide higher measurement accuracy.
A shorter rod reduces the likelihood of bending or deformation, ensuring more precise results.
Choosing fewer probe components helps reduce the risk of bending at connection points and ensures consistent accuracy.
3. Consider Vibration Characteristics
For CNC machines with high vibration, select carbon fiber probes with excellent anti-vibration properties. This reduces the risk of collisions and breaks, ensuring more accurate measurements.
Avoid ceramic styli for machines with significant vibration, as they may negatively impact measurement quality.
By considering these factors, you can optimize probe styli selection for accurate, reliable measurements in various machining environments.
