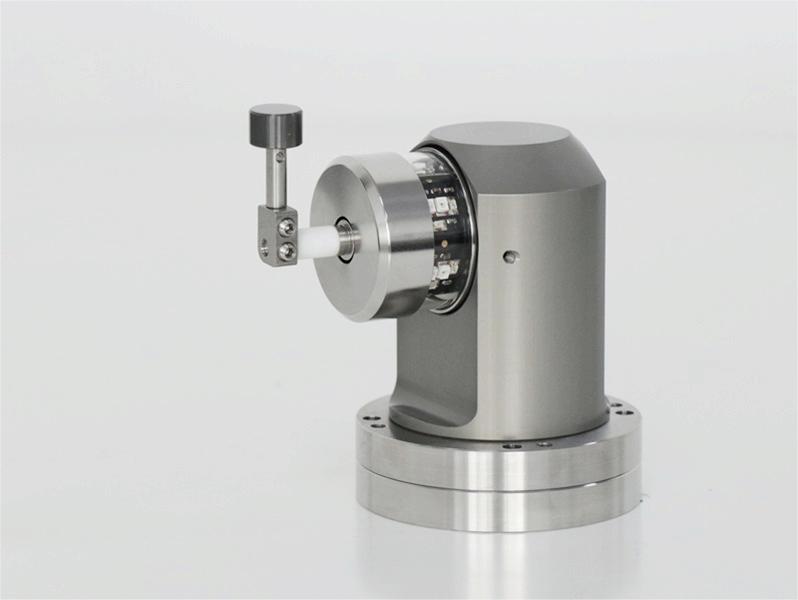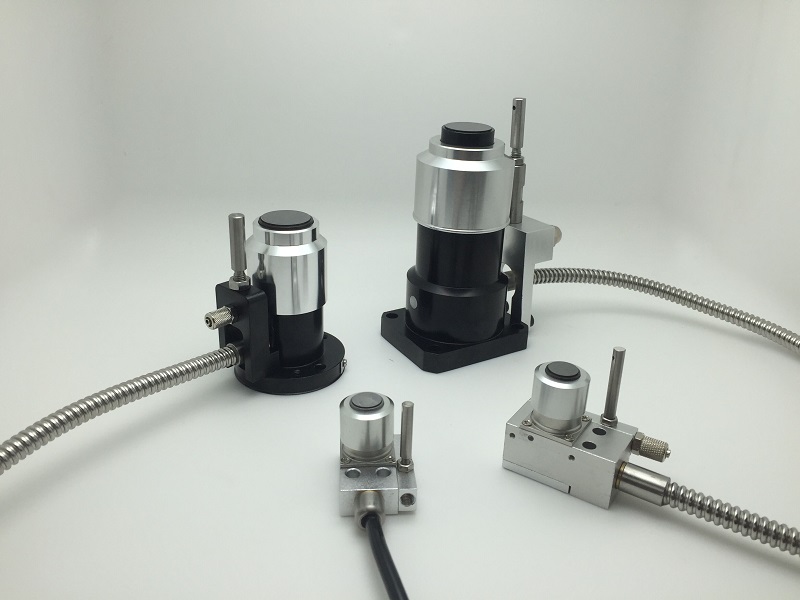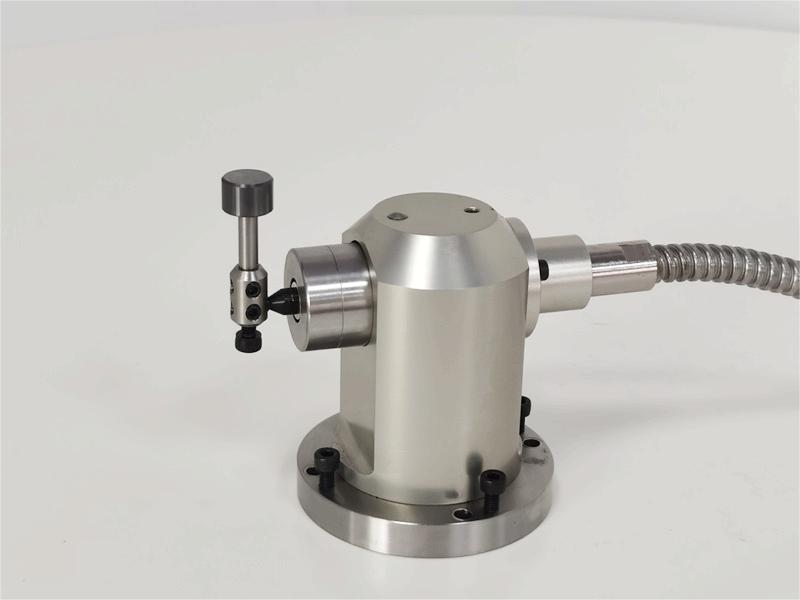
Affordable Non Contact Laser Tool Setter
non-contact laser tool setting systems for CNC machining centers
Innovative laser technology for non-contact tool length and radius measurement as well as tool broken and breakage detection under the harshest conditions
Brand: SILVERCNC
Models: SNC56/86/168
Logo printing : Silvercnc/None/Customized
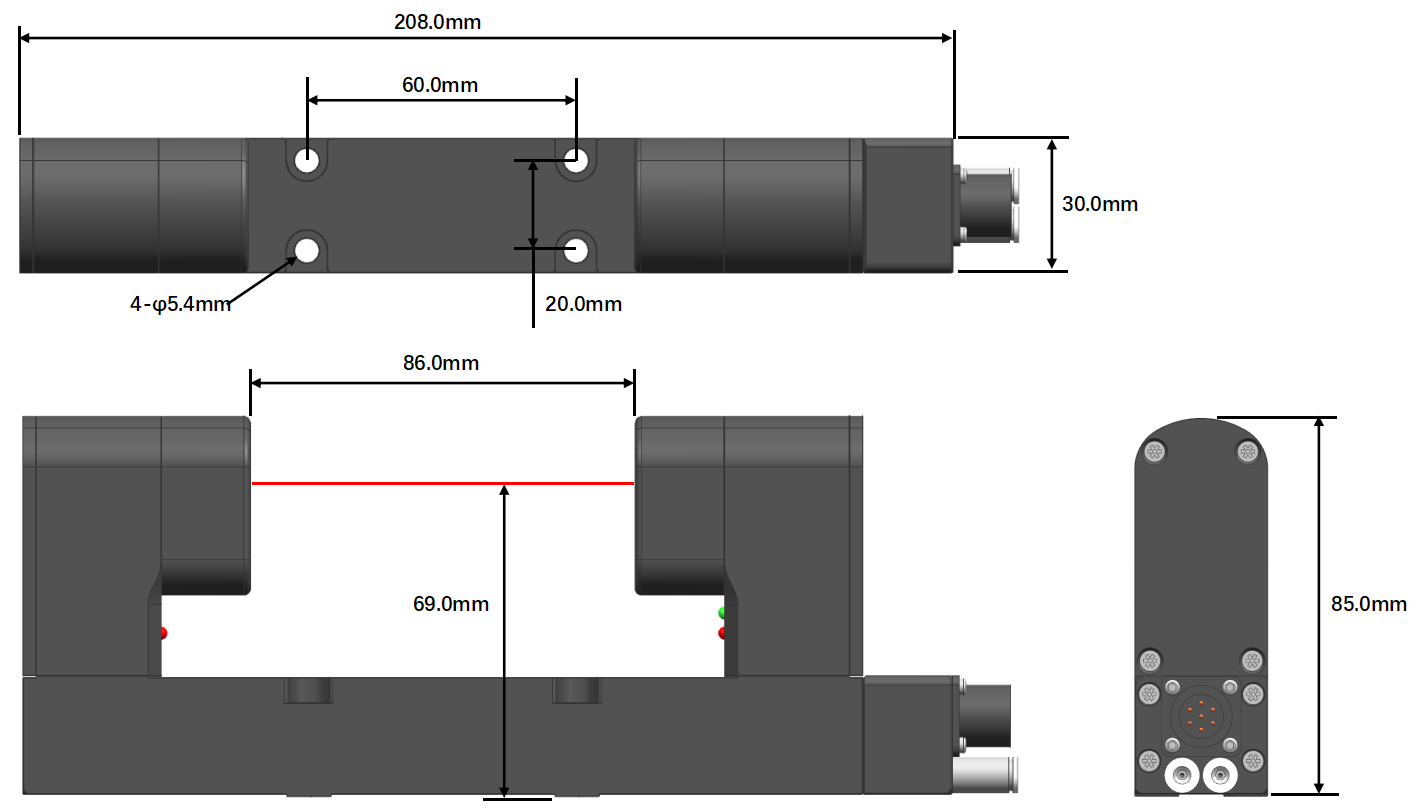
Tool diameter: 56, 86, 168 mm
Typical repeatability: ±0.1 µm, 2σ
repeatability: ±1 µm, 2σ
Transmission type: Hard-wired
Cable: 8m(can customized)
Warranty: 1 year
Packaging Details: carton
Shipping: DHL/TNT/UPS, 3-7 days
Laser tool setter
■ laser system is a very fl exible solution. The contact-free optical measurement enables you to check even the smallest tools rapidly, reliably and without collision. Even the most sensitive tools are completely secure from damage.
■ The precise determination of the length and radius at the rated shaft speed ensures your high production quality. At the same time this integrated tool setting with automatic updating of tool data eliminates the need for separate tool setting, reducing costs and non-productive times.
■ The non-contact laser beam can check very small tools quickly, reliably and without collision risk. Even the latest high hardness brittle cutting materials can be measured with this laser tool setting instrument system.
■ Because the tool is measured at the rated speed, the tool errors, spindle and tool holder are all detected and can be corrected directly.
Non contact laser tool setter System components
Non contact laser tool setter house
■ Composed of laser transmitter, receiver, fix plate and blowing module.
■ Adapt spotting laser to ensure stable light source, small laser beam diameter, and easy adjustment of light source center.
■ Built in air path, normally open, ensuring clean laser path and unobstructed laser.
■ The laser tool setter have a blowing unit to remove chips and coolant from the tool with a blast of compressed air.
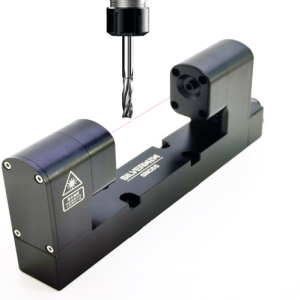
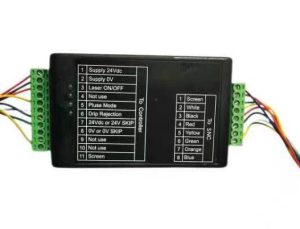
Interface Unit
■ The interface processes the SNC signal and converts to output. And then sent to the CNC machine controller to signal input.
■ Please refer to the user manual to ensure correct wiring
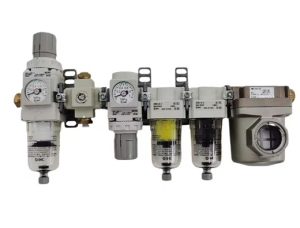
Compressed air unit
■ Provide air for the blowing module,
■ Supply the laser system with sealing clean air.
■ Supply air source to open the optical path during the operation of the laser tool setter.
■ The PLC programtriggers the control valves.
Laser Measuring Function introduction
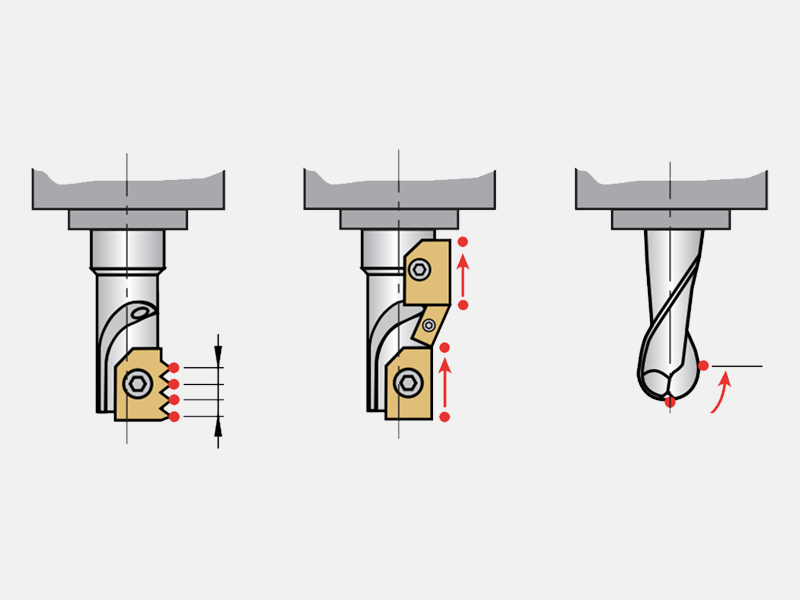
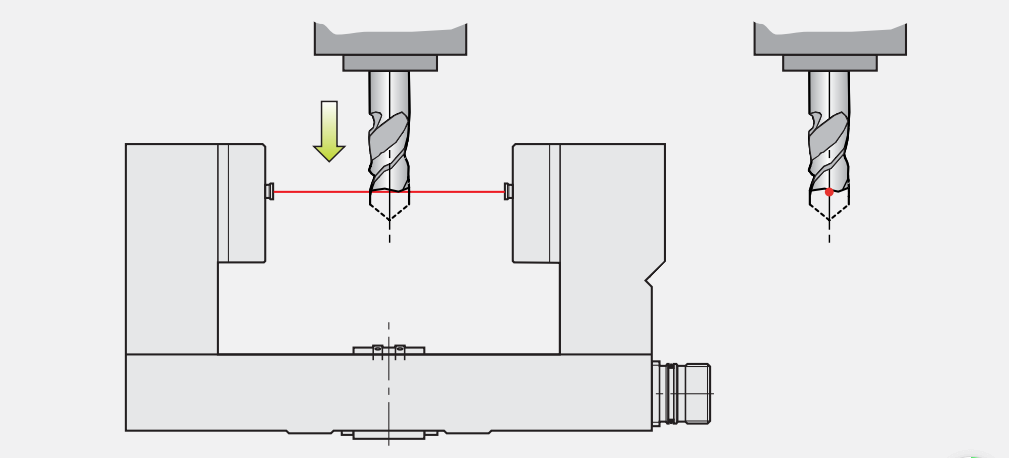
1. Tool length measurement
2. Measure the tool radius and detect the tool breakage
3. Quick tool breaking detection alarm
4. Single edge inspection and shape inspection
5. Anti drip function
6. Machine tool temperature compensation function
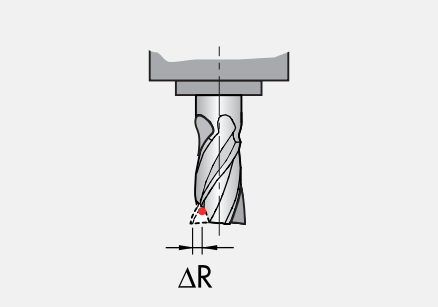
(2) (4)
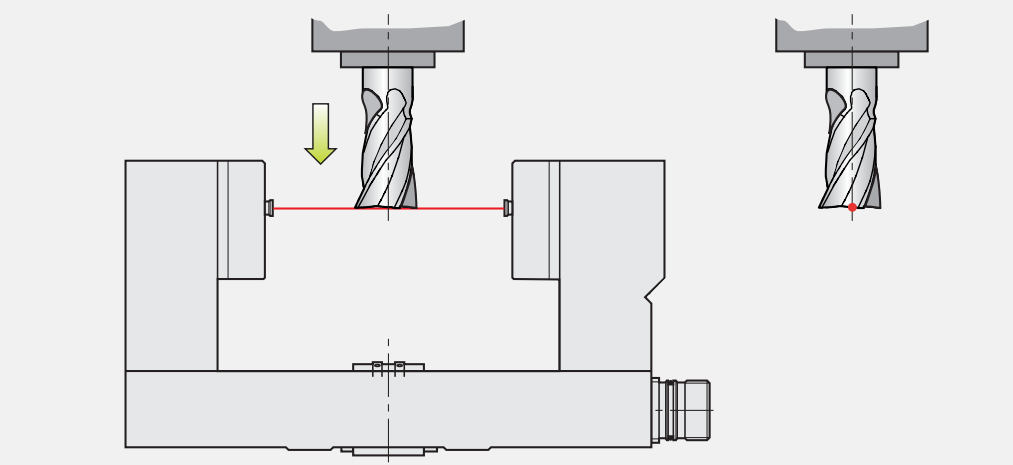
(1) (3)
Innovative laser technology
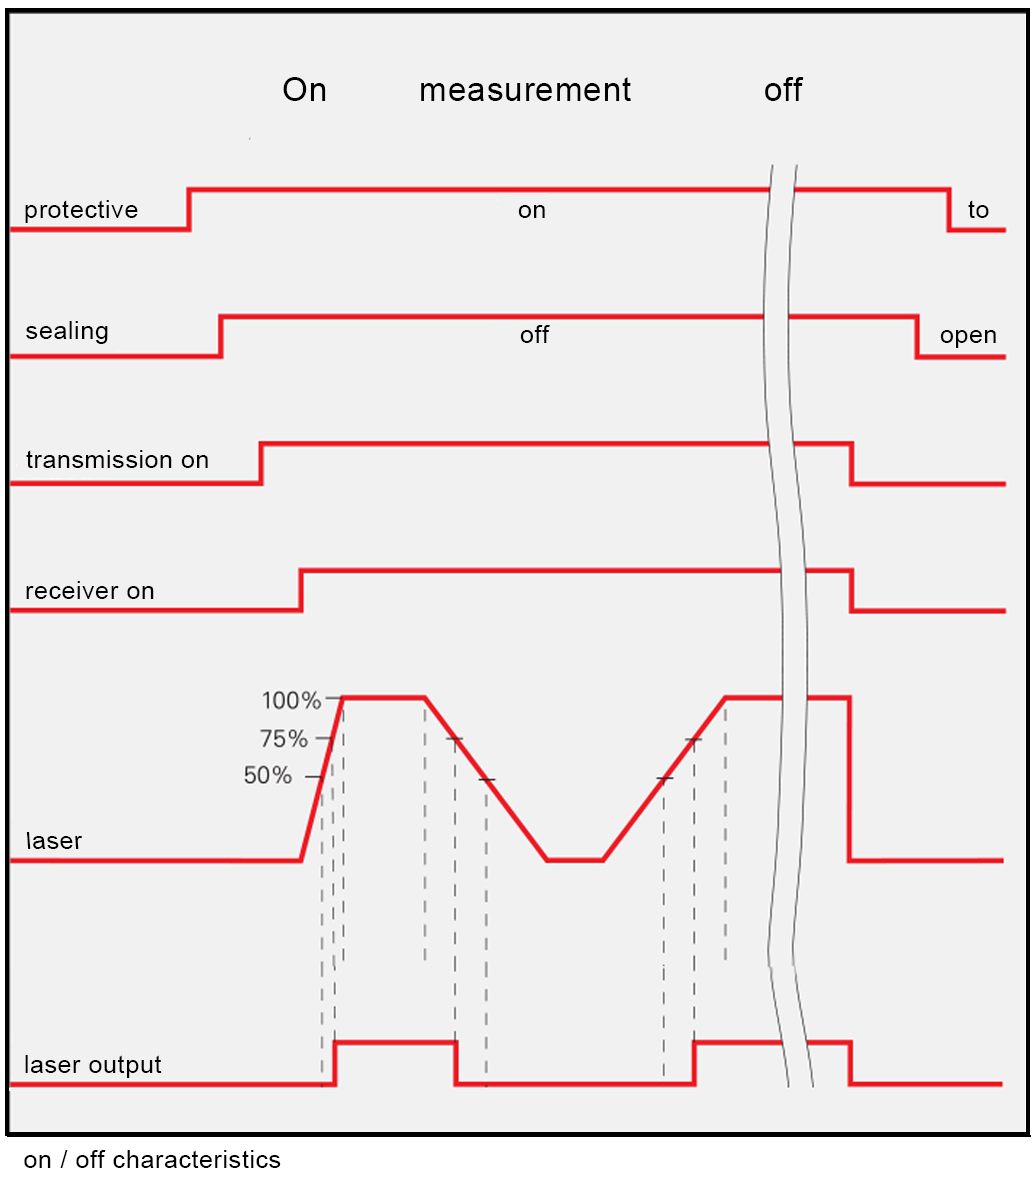
■ The CNC system turns on the laser system through three enable signal lines.
■ The transmitter signal activates or disables the transmitter and turns the laser beam on or off. In order to minimize power loss (heating) and improve the available time, the laser diode can only be turned on during the measurement cycle.
■ When the receiver is enabled, the operating mode of the laser shutter is determined according to the corresponding measurement cycle.
After the transmitter and receiver are enabled, if the light received by the receiver is at least 75% of the maximum value, the output signal of the laser system is used as the trigger signal.
Laser Tool setting protective design
Mechanical protection
The lens of the laser system is strictly sealed through the antifouling gate of the mechanical sealing system to avoid the intrusion of coolant and chips. Only when measuring, the sealing system allows the optical system to emit a beam. The gate is pneumatically driven by a compressed air device.
Air sealing
The transmitter and receiver of laser light barrier are protected by ultra clean sealing air of compressed air device. It can effectively protect the optical system from splashing coolant
| Principal application | High-precision, high-speed non-contact tool setting and tool breakage detection on all sizes of vertical and horizontal machining centres,multi-tasking machines and gantry machining centres |
| Laser beam alignment | The unit is supplied with an adjustable mounting plate on the underside |
| Cable(to interface) | Hard-wired systems: cable on the end of the unit. |
| Sealing | IPX8 |
| typical repeatability | ±0.1 µm 2σ |
| Repeatability | ±1 µm (2σ) |
| minimum tool or feature size | Ø0.1 mm orlarger |
| max tool or feature size | 86 mm, |
| minimum tool for breakage detection | Ø0.1 mm orlarger |
| power | 100 mA @ 24 V |
| output signal | No voltage solid state relay (SSR). Each relay may be normally open. Current (Max.) 50 mA, voltage (Max.) ±50 V |
| Storage temperature | ~10 °C-50 °C |
| Operating temperature | 5 °C-50 °C |
| Life | Tested to > 1 million on/off cycles |
| pneumatic supply | 4 mm Air pipe, 6.0 bar (87.02 psi) maximum 3 bar(43psi) min. |
| Cable | Ø6.0*8m (0.24 in) , two twisted pairs, two individual cores plus screen, each core 18 × 0.1 mm insulated |
| Mounting | M10 (3/8 in) |
